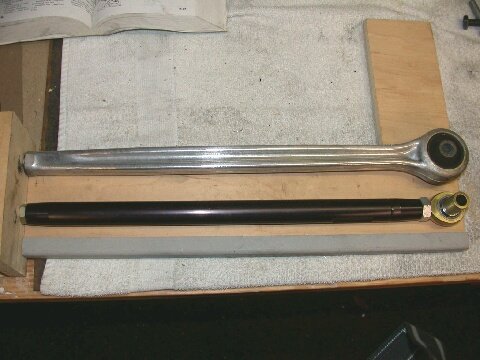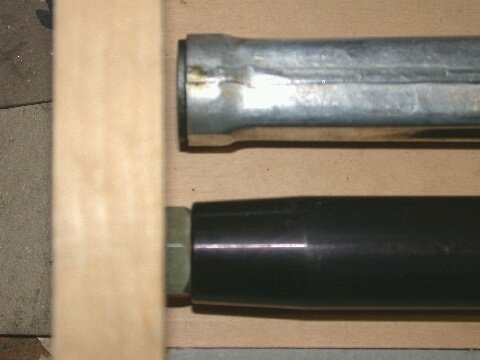


The cited reasons according to M2 are to eliminate the flex and movement of the stock rubber bushings in the OE suspension components (and those bushings truly are BIG) resulting in less wheel hop during hard launches and reduced toe out during cornering leading to excessive oversteer. That's the technical explanation, fair enough. But why did/do *I* need these parts seeing as they weren't necessarily top of my to-do list? Well an acquaintance happened to be selling a set of unused parts for a fairly decent price. So I picked them up not knowing that some day I might actually need them. And my need would eventually be the mounting of 17x11 rear rims [see here]. See the M2 trailing arms afford a few more millimeters of clearance for extra wide rims and tires.
The install is very straightforward. Nothing earth shattering is to be found here if you can turn a wrench but there is a trick or two that might be worth noting.


The first "trick" is done to ensure that you have some semblance of alignment left after installation of the new parts or at least good enough for you to drive the car to the alignment shop without destroying a set of tires on the way. And that is to get the new toe links close to the same length as the old toe links. All I did was use a 2x4 with a stud screwed into a hole on one end dropped the stock toe link onto the stud and drilled a hole in the 2x4 which lined up with the bolt hole in the other end of the link to use as a jig for the new toe link. Easy and straightforward.


Installing the new toe links is just a matter of bolting it up. The
M2 links have the two wider spacers on the chassis flange and the two shorter
spacers on the hub. If the two spacers won't fit on the hub end then there
is a small bushing/sleeve that needs to be "tapped" out. Give a good shot
of PB Blaster or Liquid Wrench and with a small brass drift tap it far
enough out so the toe link and spacers will fit. No grinding or filing
should be necessary!

Next up are the trailing arms. Perhaps the only caveat is to make
sure that the wider spacer (on the chassis end) is used on the "outside."
This is what gives those wider rims that extra few millimeters of room
over the stock trailing arms. Very simple, very easy. My only concern was
that the M2 arms were about 2 mm longer than the stock parts - and could
not be made shorter? I'm sure this will have an effect on my alignment
but seeing as an alignment is due anyway hopefully it shouldn't be too
devastating when I have to drive it to the alignment shop.


And there you have it. Everything installed. The only thing I did
was to smear all the spacers with a light coat of lithium grease to inhibit
corrosion and stop any sort of binding. Is it needed, I dunno but I don't
think it hurts.


TRIPLE-R
MAIN PAGE
GENERAL
OVERVIEW | THE
HEART OF THE BEAST | STOPPING
AND TURNING | THE
COMFORT ZONE