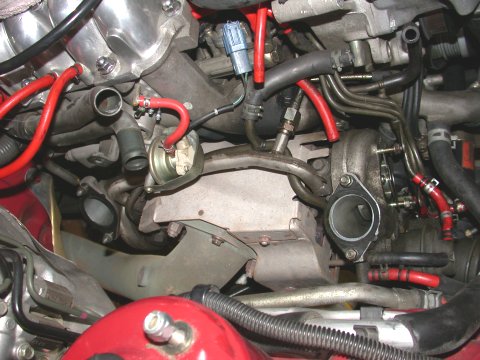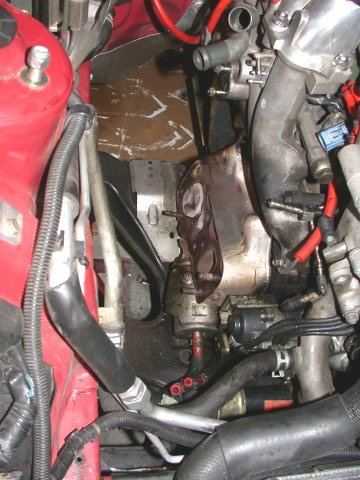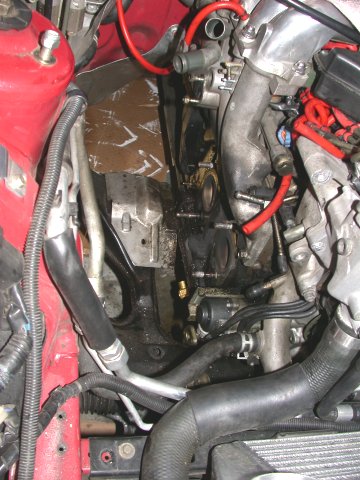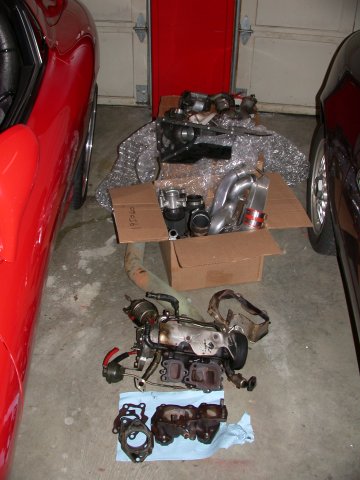

The above is brutally honest. The RX-7 is already VERY fast, with decent straight line speed, and is virtually untouchable on the track in anything costing less that $60k. There are few cars that I, with my modicum of driving experience, can’t keep up with on the track *when they are driven well* (Note: most aren't driven well enough and are easy pickens on the track) and most of them typically are quite modified, C5 Z06s, Porsche GT3s, and Dodge Vipers to name the few. Oh and other RX-7 s of course. The newer cars however are indeed getting faster. So how to “keep up?” My car already has pretty much all I can do in the way of brakes and handling but I have been remiss in serious power adders. My car still had the original stock twin turbos and I ran an unported stock motor - the original motor. It is essentially untouched. Sure the boost can be upped but the poor stock twins run out of puff when pushing more than 12psi of boost and for long track sessions the added heat from compressing that air almost outweighs the benefits of the higher boost levels. It is at this point the best option is to dump the stock twin turbos, simplify the whole system and install a single turbo. There. I said it. Never thought I would but there it is.
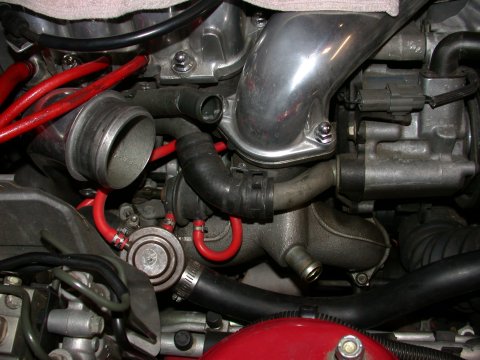
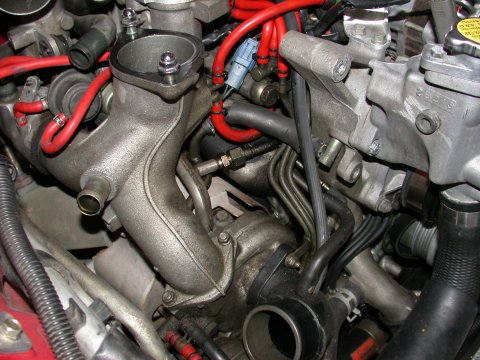
Want to make serious power you have to go to a single turbo setup. And there are other benefits also besides the huge jump in power output potential. The more open engine bay around the turbo area allows for better cooling. The single turbo operates in a more efficient range at higher boost levels thereby lowering the overall effective intake charge temperatures. This means less “work” for the IC to do and by way of a cooler intake charge more power to be made. And then there is the issue of complexity. Gone are all the failure prone control solenoids and spaghetti of vacuum lines. Simplicity of a single turbo in and of itself has been why some folks have made the switch because they simply could not be bothered to diagnose a broken turbo control system or let alone figure out how to repair it. Not me though. Nothing wrong with my car when I took it apart - I must be nuts! It's hard to take apart something that isn’t broke. My car gave me many a faithful and trouble free years of track duty. Rest in peace dear twins.
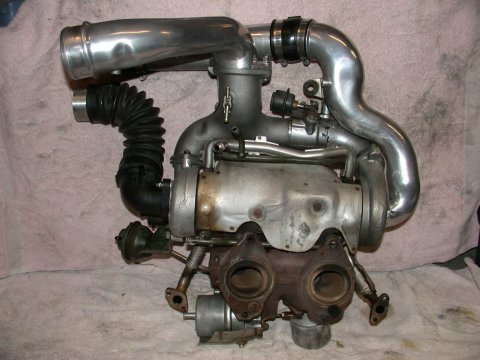
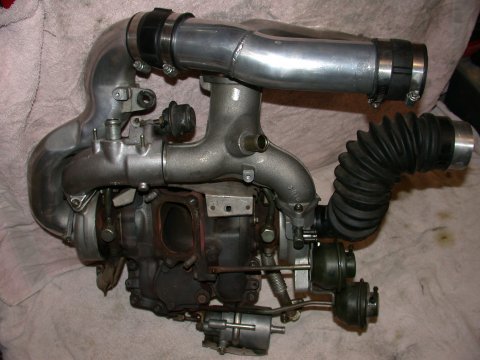
Now that that is over with and the decision has been made that the best way to go is with a single turbo, versus ‘99 twins or some other system, what is it I should get? Two data points helped me. First is that of a friend of mine, Gene Felber, a very smart cookie is this Mr. Felber, who had done much research regarding optimum choice of turbo charger for his (our) purpose. That being road race/track use. See HERE for Gene's analysis. Note, I’m not talking drag racing here. And the fact that A-Spec Tuning was running a fall 2004 special on their turbo kits. A-Spec advertised their Garrett GT35R (GT35/40) single turbo kit as having great streetability and a broad powerband, perfect for street driving and road racing with 375-385 RWHP @14psi on pump gas and over 400+ with increased boost and octane. So the decision was easy, an A-Spec GT35R kit with SS tubular manifold and TiAL wastegate. I made the phone call, gave them the specs for what I wanted, plunked down the funds, and waited. No hurry mind you. And 6 weeks later two boxes arrived at my door.
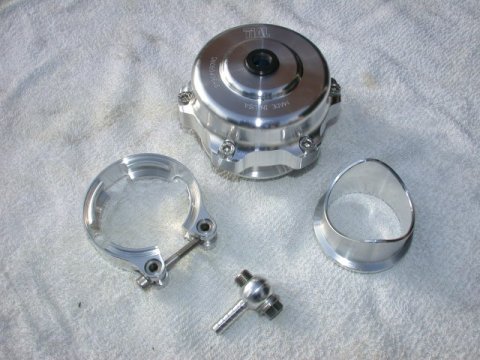
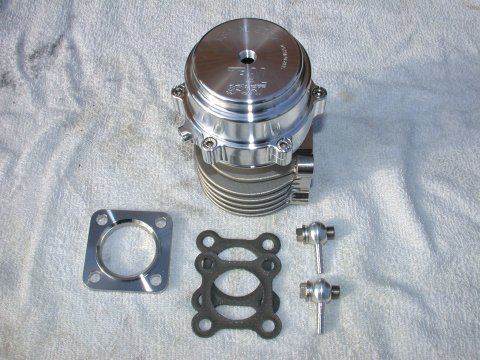
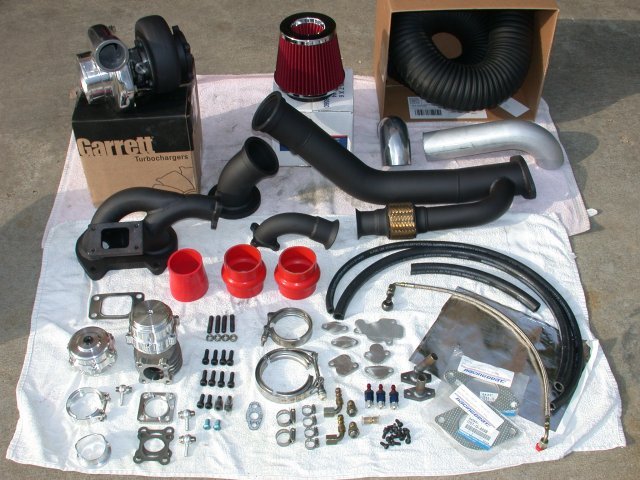
So what was it I ordered? In the A-Spec kit was included a GT Series dual ball bearing Turbo (GT35R snail using .70 AR compressor/1.06 exhaust housing), [for what makes the GT series turbo so special one can read the following: GT vs. T and ball bearing vs journal bearing ] SS tubular exhaust manifold with dump tube to the remote wastegate (two piece design with V-Band coupler), SS tubular DP with the wastegate dump plumbed back into the DP [good for street use as an open wastegate dump tube is LOUD!]and using a flex section [flex section eases the stress on the pipe from different thermal expansion between the 3" DP and the smaller dump pipe] (V-band coupler from wastegate discharge to DP), polished TiAL 46mm wastegate (with 7lb spring ) [TiAL in my opinion make the best wastegates on the market], braided SS oil feed line, hoses and fittings for the cooling lines, mounting hardware, a 12" square piece of adhesive backed heat shielding, an intake filter (of unknown origin), and block off plates for any ancilliaries that you choose not to reconnect (EGR, ACV, etc.). I also requested that the manifold, DP, dump tube, and turbine housing be ceramic coated ($229.00 extra), that the turbine compressor housing be polished ($75.00 extra), and that an O2 sensor bung be welded onto the DP (freebie).
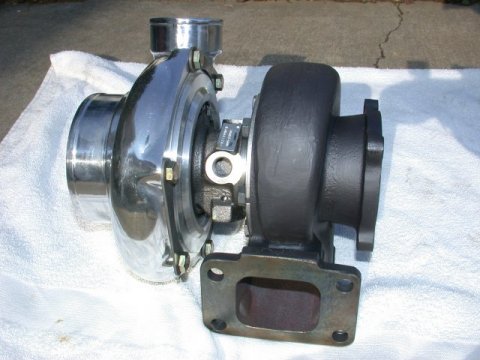
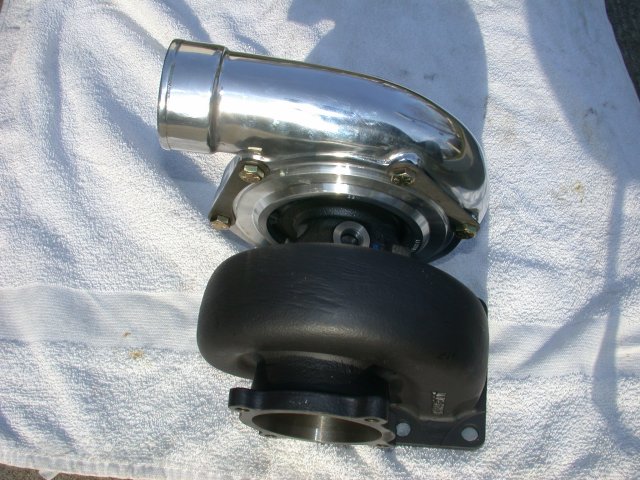


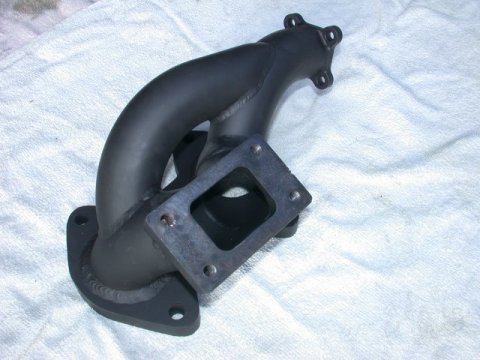

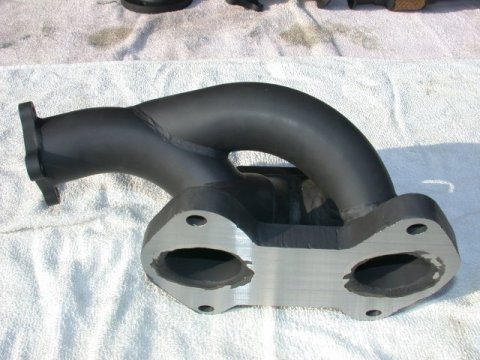
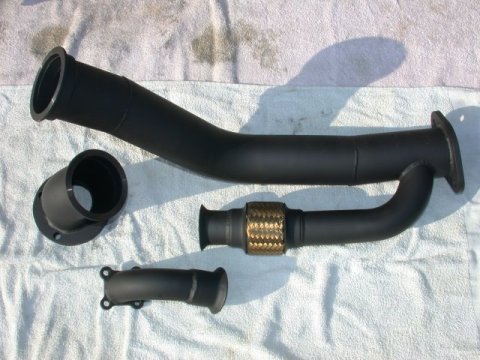
Ok that was what was included. What was not included that I bought on my own was a TiAL 50mm blow off valve, 4" intake hose to route turbo inlet to CAI, AL piping and bends to plumb compressor discharge to IC, 4" AL pipe to connect inlet hose to air filter, Greddy Profec B Spec II for boost control, -4 AN aluminum weld-on nipples for vacuum lines on intake pipe, various 2.75" AL pipe bends/straights for new turbo to IC pipe, oodles of 6mm silicone vacuum line, silicone couplers for plumbing to the IC (reducer for compressor discharge, hump couplers for IC, and one 2.75" straight coupler), new exhaust manifold to block gaskets, turbine exhaust discharge to DP carbon gasket, turbo oil inlet restrictor, and tons of Thermo-Tec heat shielding (fiber core adhesive backed AL sheets and “Cool-Tube” hose shielding). See page 4 of this series (link below) for the full rundown of the extras I needed for the install.
