

Next up, the cooling system. Replacing the oil lines required removal of the radiator so it was a good time to flush and drain the cooling system. I also replaced the thermostat and installed new radiator hoses that the previous owner gave me (he never got around to installing them) Of course in the process of replacing the questionable tstat (temp gauge wouldnít even lift of the C mark) I snapped not one but both filler neck bolts. AAAARGH!. Oh well. Drill, tap, and with new bolts all is well.
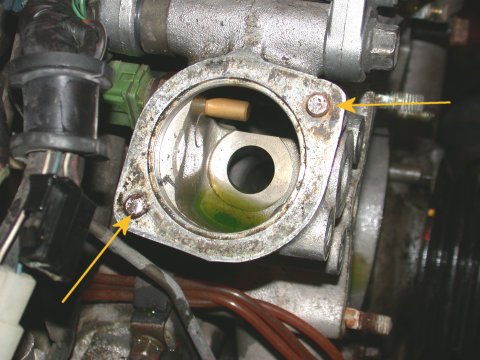
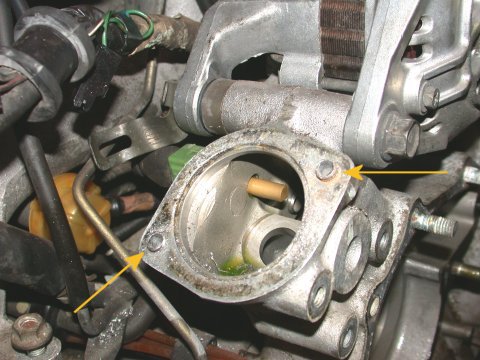
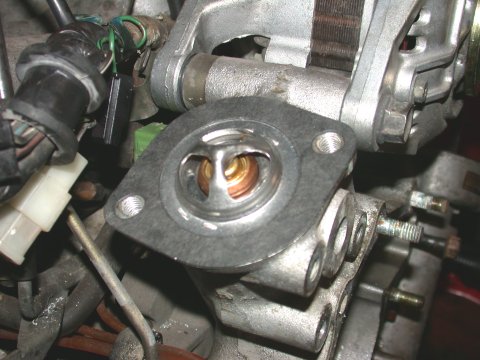
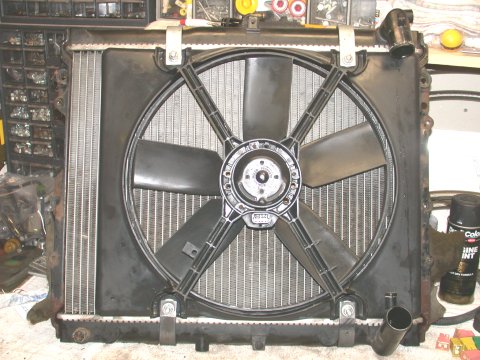
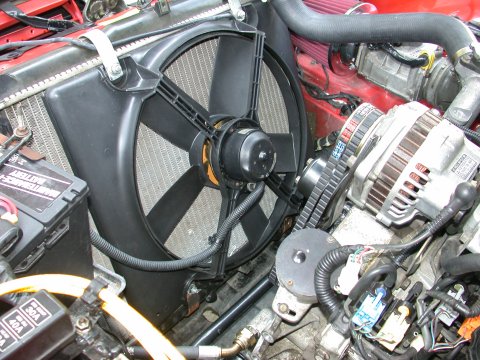
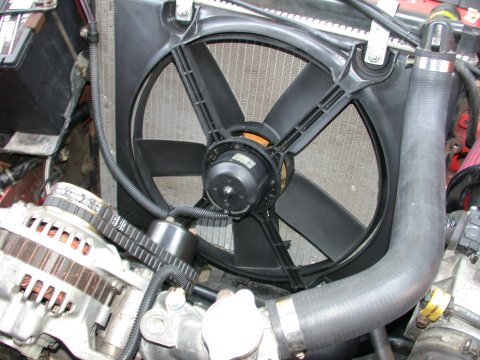
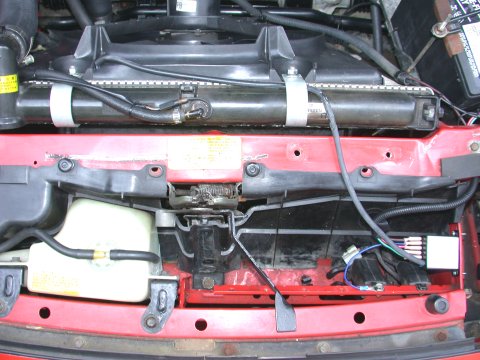
In the interest of simplicity I also removed the automatic warmup system and associated throttle body cooling loop. Car requires a little right foot on the throttle immediately after startup in cold weather but itís not a big issue to remove the AWS. Before reinstalling the radiator I also ditched the OE mechanical clutch fan. The clutch fan was replaced with an electric fan. This also lessens parasitic drag on the engine and cleaned up the engine bay even more. Because Iím cheap I used an electric fan from a 1990 V6 Pontiac Fiero. This fan that comes with a nice shroud fits the Mazda radiator very well. I picked one up for $20 at the local junkyard. After fabricating some efan mounting brackets the radiator/efan assembly was reinstalled and a fan relay/temperature controller was installed. The relay/controller was $30 off eBay. Concerns about the added electrical load from the efan being too much for an early S4 alternator were questionable, but I was willing to see if the puny S4 alternator could manage with the fan running, the headlights on, the wipers on, and all my aftermarket gauges on. Time will tell.
7-UP CLUB
MAIN
OUR "LOCAL7"
COMMUNITY | THE
WORLD OF THE RX-7
This page last updated December 11, 2003