

Ok so here we go.
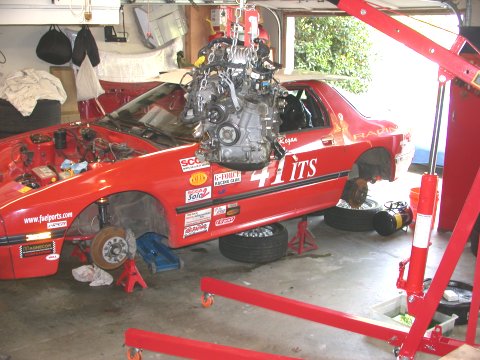
Rusty’s old motor was pulled. Fairly easy to do now that I’ve done it a
few times. Drain fluids, disconnect fuel and oil lines, remove radiator,
unplug emissions (injector) harness at the ECU and pull it through, remove intake
filter, AFM, and hose, unplug engine (ignition) harness, unbolt the engine from the
tranny and motor mounts and out it comes. Simple.
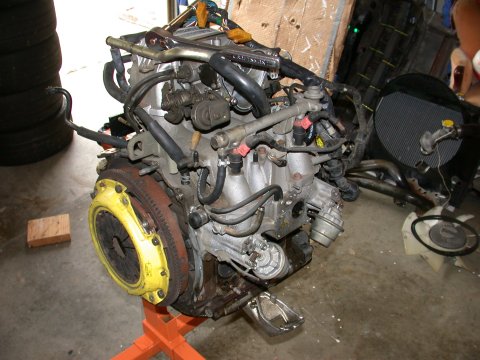
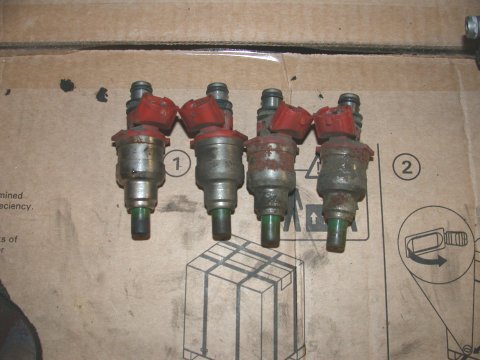
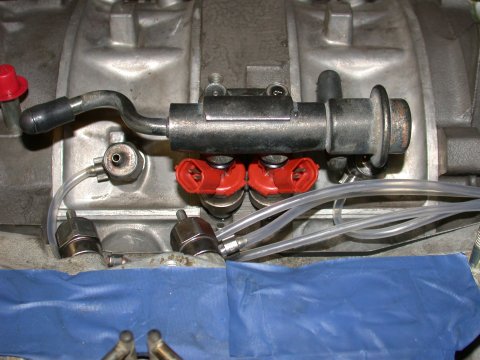
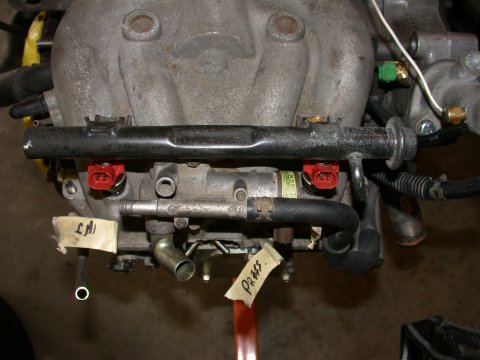
First up was getting the injectors cleaned and serviced. These I pulled
off the S5 eBay motor. Due to a compatibility issue with the plug shape
from the 460cc red S4 (‘88) injectors and the emissions harness I had to
use the 460cc red S5 (‘91) injectors. I decided to give WitchHunter a shot.
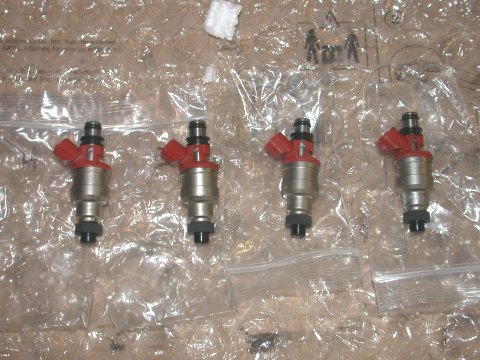
There were getting good reviews and were cheap - $60 for cleaning, servicing,
and flow testing for all 4 injectors including the return shipping. This included
new pintle caps, new “O” rings, new insulators, and new screens and all injectors
were flow matched. I shipped them on a Monday and had them back the following
Saturday (and this was East coast to West coast!). They looked great. Money
well spent.
After removing the S5 manifolds from the eBay motor they were in dire need
of a good cleaning. A friend ran through their shop steam cleaner and they looked
better afterwards. I also hosed down the inside of the intake runners liberally with
carb and choke cleaner. All the old gasket material was scraped off the three parts
of the intake manifold assembly and I began the task of capping and plugging holes.
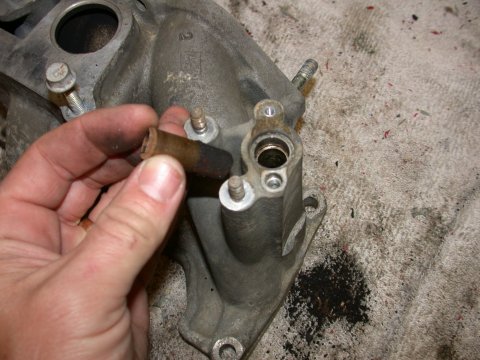
First up was installing the ACV block off plate - 3 10mm bolts - done. Next was
the 5/6 port sleeves. Actuators were removed and the studs taken out of the
manifold. I pulled the sleeves out of the lower intake manifold (LIM). NASTY!.
The sleeve actuator shafts in the LIM were jammed in place. The 5/6 ports were not
working on this car for sure. So jammed that when trying to twist them out one
snapped off! Out came the punch and they were hammered out. Similar the shaft
sleeves were hammered out of the LIM also. I then dropped a bolt into each of the two holes and
sealed them in place with some JB weld. Done. The VDI actuator was removed and the VDI
sleeve was wire tied in the open position. Done.
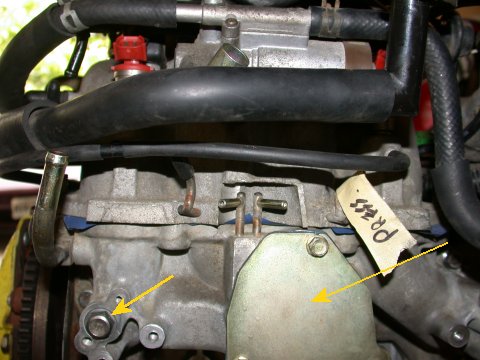
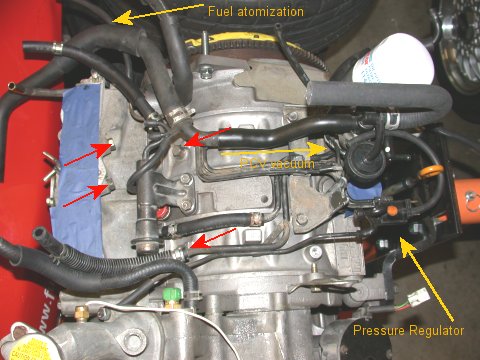
I had planned on simplifying the vacuum system on Rusty but never got to
it. Now with the S5 top end all in pieces and the vacuum spider out lets break
out the dremel and start cutting. Items that can go - 2 solenoids controlling
the ACV (Secondary Air Injection System), 6PI solenoid (6 Port Induction) controlling
the 5/6 port actuators, and the control solenoid working the VDI. The only remaining
solenoid should be the pressure regulator control (PRC) solenoid to assist with hot
starts, and even that is debatable if it’s needed or not. With the 4 extra control
soleniods removed it was just a matter of chasing all the hard lines and removing any
lines that weren’t needed anymore. Any questionable lines were saved and capped and
any unused vacuum sources from the manifold were also capped. The PCV valve and fuel
purge solenoid and lines were left in place. And while I was at it I replaced all the
fuel lines with new hose and did the same for the remaining vacuum lines.

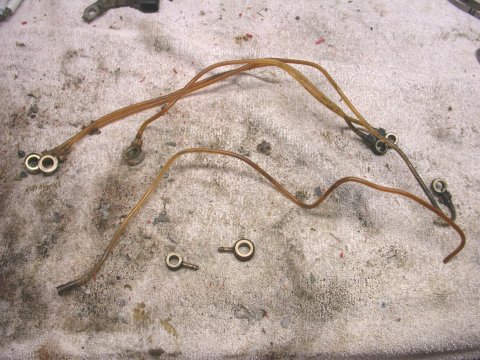
My desire was to maintain a functional oil metering system, but alas it was
not to be. I found this out the hard way. In the beginning I had a set of OMP
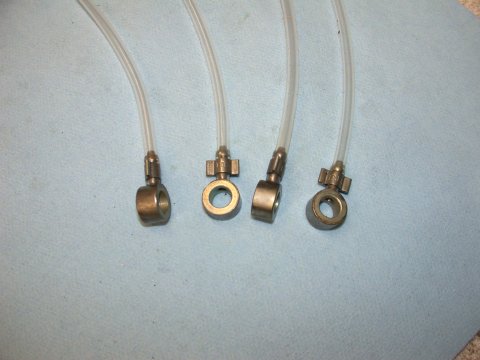
lines from the eBay S5 block. A set of broken lines - one line was missing and entire section.
So I would either have to replace the line or...make my own. Discovered on the RX7lcub
forum was an excellent posting on how to make you own lines. I can take NO credit for this
information. But it is good information. All the materials to rebuild the lines can be
sourced from MSC Direct. I ordered:
1) Tubing: MSC # 48701031 available in 10' lengths. 1/8 x 3/16 (CTL)
Teflon PFA - Industrial. Translucent. 1/8" I.D., 3/16" O.D.
$1.51 per foot x 10' = $15.10
PFA Characteristics
• Excellent abrasion & temperature-resistance
• Low coefficient of friction for ease of flow• UV & Gamma radiation stable, chemically inert
• Thermally superior to most plastics
• Outstanding chemical & electrical properties
• Durometer=shore D 55±5
• Temperature range: -320°F to +500°F
2) Clamps: MSC # 48547962. Two-Ear Clamps
Type: 2-Ear, Nominal Size: 1/4, Inner Width of Ear: 0.118 In., Thickness: 0.0276 In., Width: 0.236 In., Material: Stainless Steel
$.33 ea. x 12 = $4.00
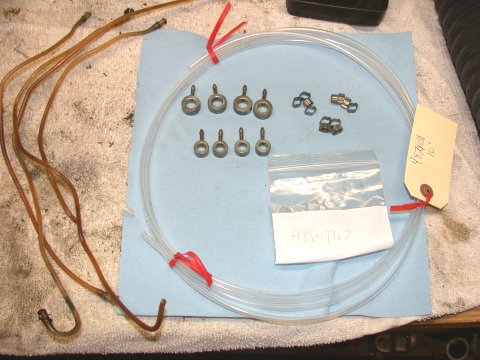
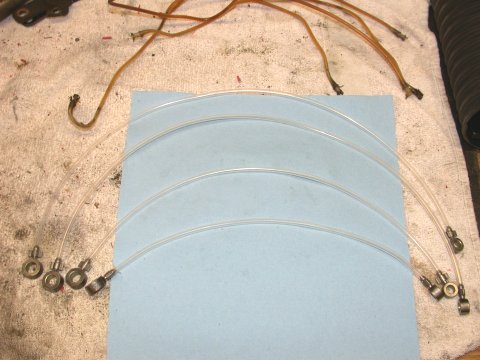
So with these materials in hand I did as the originator indicated:
RX7Club Link [note: link may not last]
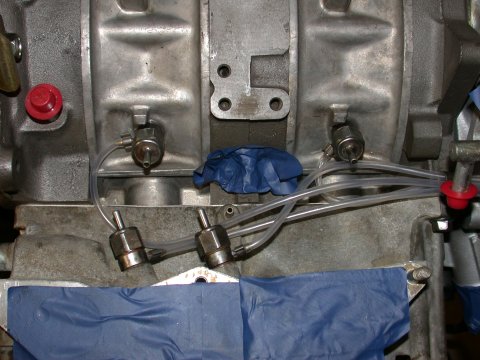
and made some new lines. I wire-wheeled all the old banjo bolts and fittings and did the same
for the oil injectors themselves. All were cleaned with carb cleaner to degum the insides and
they look almost as good as new. Happy with my new lines and fresh hardware I installed the newly
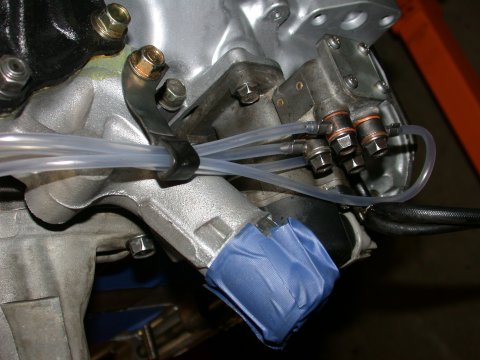
refurbished OMP system, pump included. Routing the lines without kinking them was a little tricky
as I made them a tad too long but they fit fine. I had originally left the vacuum line nipples
that feed the oil injector nozzles in place during my vacuum spider simplification. With this
taken care of I moved onto the water pump and water pump housing issue.
There is a marked difference in the way the cooling system, namely the radiators,
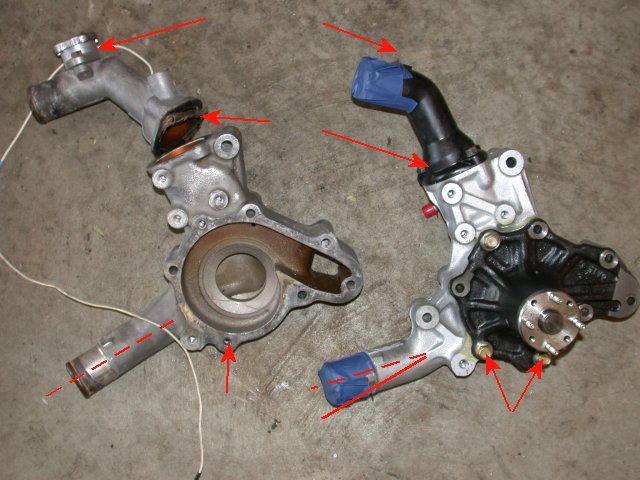
are setup between S4 and S5 cars. In Rusty I have a nice Fluidyne aluminum race radiator....for
an S4. See, on an S4 water pump housing the discharge nozzle feeds to a 2 bolt thermostat
housing. The thermostat having a gasketed flange. And the t’stat housing having a “radiator”
cap at the highest point. The S5 thermostat housing has no radiator cap, as it has been moved
to the radiator, and the t’stat housing is a 3 bolt flange with rubber ‘O” ring instead of a
gasket. Given my S4 radiator does not have the S5 style radiator cap arrangement I needed to maintain
my S4 water pump housing and t’stat housing. No problem...should bolt right up...and it did.
(Be sure to use the shims on the one water pump housing bolt between housing and block -lest you
crack the water pump housing! - the shim is to compensate for the thickness of the gasket on the
other parts of the housing to block interface) This was also good as my S4 t’stat housing is aluminum
and had the fitting for my water temp gauge, the S5 neck is some kind of crap plastic. BUT, two problems arose.
The first being the S4 and S5 water pumps are also different meaning I couldn’t use the brand new
pump that came with the reman motor...damn. All but one of the bolt holes lines up. I’d have to
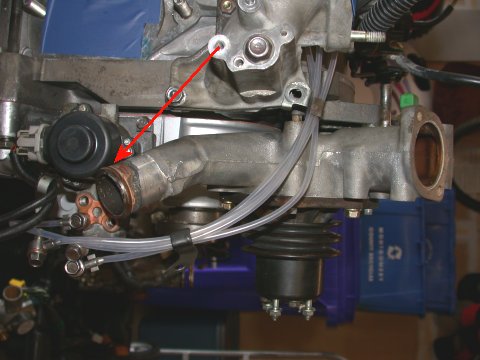
reuse my old pump. The second problem, and this one really pissed me off, the angle of the lower
radiator return fitting on the water pump housing was different. The S5 is angled up about ˝ inch
to clear the electrical OMP (The S4 has a smaller mechanical OMP).
This meant my S4 housing would not work with the S5 electrical OMP.
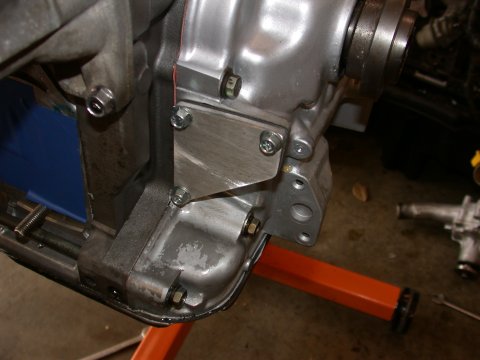
The answer, ditch the OMP system altogether and run straight premix fuel like all the other racers. And
all that work refurbishing the OMP lines was for nought. So the OMP was removed and a block of plate
I fabbed up bolted in it’s place, the OMP lines and injectors were removed and bolts installed in
place of the oil injectors (see pic above). It certainly is cleaner looking, the only issue being the OMP has to
remain connected to the electrical harness or else the ECU throws the car into “limp mode.”
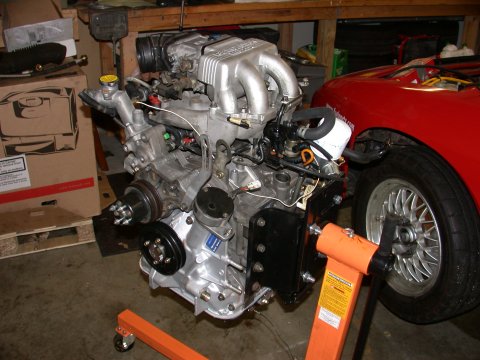
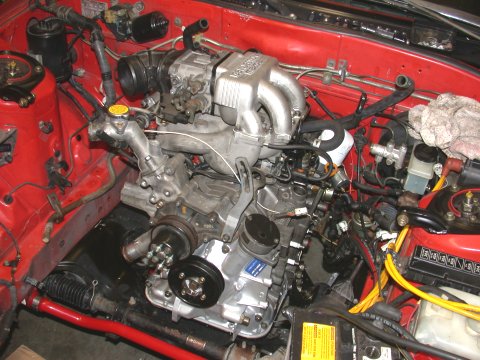
SO with all the above done, the upgrades and improvements are complete and all was assembled together. Now
gaskets were used everywhere, new vacuum lines installed, extra vacuum nipples capped, and fuel lines connected.
With the long block essentailly complete the assembly was dropped into the car ready for wiring. ULP!
7-UP CLUB
MAIN
OUR "LOCAL7"
COMMUNITY | THE
WORLD OF THE RX-7
This page last updated June 10, 2006