
| Upon returning from the track the first thing I did was remove the hood and see how it faired. No stress cracks found but the intercooler rubbing was a problem. And then there was the issue of all the other stuff to to be attached to the underside of the hood. I had to figure out how to put mesh into the vent openings, the headlight splash guards had to be attached, holes for the washer nozzles cut and the tubing run, I had to figure out how to attach some heat shielding, and I also wanted to fabricate some rain guards. The Knightsports hood originally comes with rain guards and has indentations for where they are attached. (see right) Even the location of the holes for the rain guard clips were apparent in the fiberglass. Lots of things to do. |
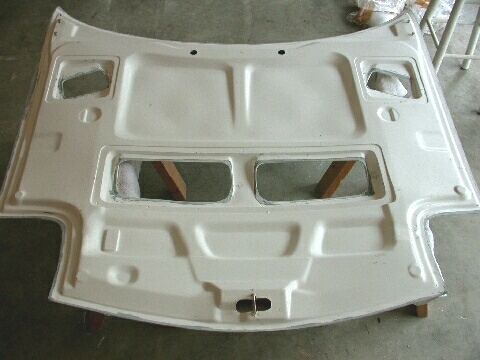
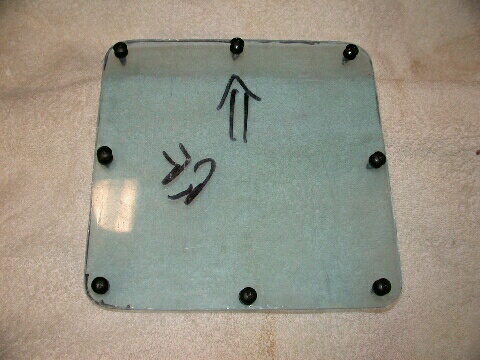
The unfinished underside of the hood. The only supplied holes were those in the underside for the washer nozzles. Note also the ready made depressions for rain guards. |
|---|
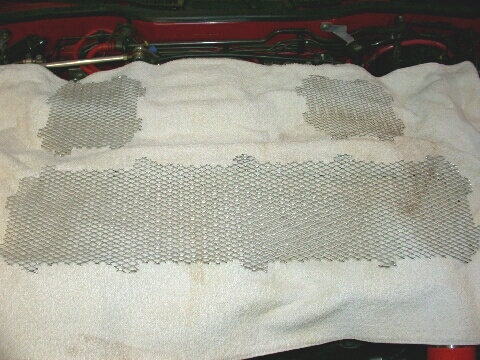
The rough cut mesh inserts. |
The mesh for the vent openings was going to be tricky as there was no apparent method for attaching them/it to the hood. But I felt I needed something to "cover" the openings because with this car still being street driven, it would be all too easy to reach through one of those huge open vents and steal a part or vandalize something. So some kind of mesh was a necessity. After much hunting I found the material I could use. Plastic I figured was too fragile and easily cut and aluminum mesh I couldn't find in widths large enough to span the vent openings or for a decent price. What I did find was a wall plaster galvanized steel mesh. Galvanized steel? Yup. But I painted it anyway so no big deal and it was only $3 for a 4' x 8' sheet. Enough for me to make 3 sets if I needed too. Cutting the mesh was tough as the material was very sharp! |
|---|
Slots cut into the vent ribbing to receive the mesh inserts. |

A prototype vent mesh insert. |
|---|---|
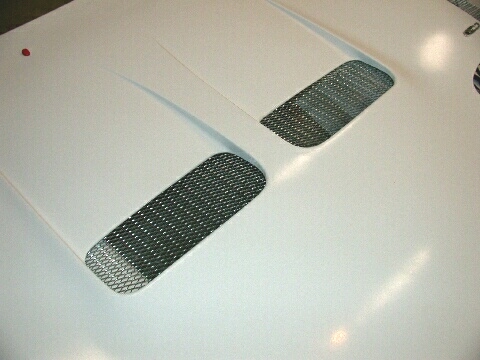
Mesh inserts from the topside. The front vents. |
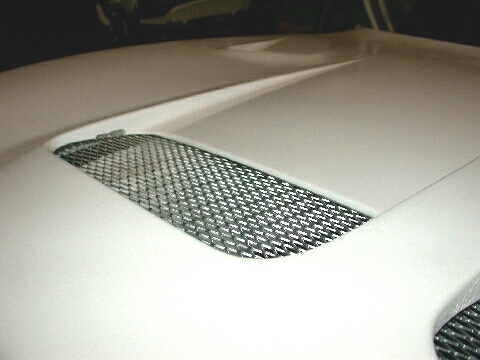
A rear vent |

Edging the mesh inserts. |

The installed final "edged" mesh insert. |
|---|
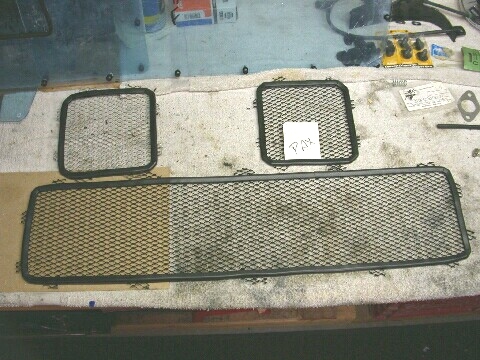
The three mesh inserts ready for installation after painting is complete. |
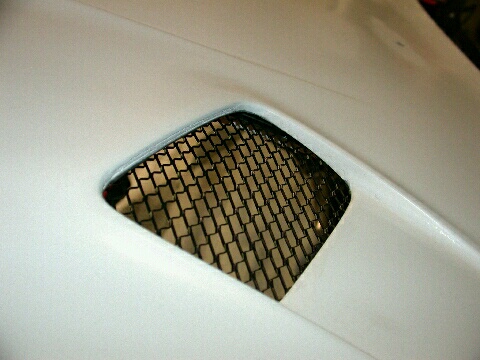
A finished mesh insert from the outside of the (unfinished) hood. |
|---|
| Next up the heat shield. Some sort of heat shielding is absolutely necessary on these cars. The rotary engine and turbo's create an immense amount of heat. Without a shield the epoxy in the fiberglass might begin to break down and the paint would discolor. Again the issue was what to use and how to fix it to the underside of the hood. Summit Racing was very helpful in this regard and recommended a ThermoTec material which can protect surfaces up to 2000degF. Aluminized on one side with a woven silica backing it was not cheap at $50+ for a 40"x36" sheet (price is now $80+!) This however was enough to do two hoods so I sold half of it to a friend. Other materials were considered but none were considered up to the task, Dynamat being one of them [Dynamat is good only up to about 350degF and used mostly for sound deadening]. Since there were no holes or any other means for fixing the heat shield to the underside of the hood I drilled holes to use plastic clips similar to those use on the OE hood heat shield and to stop the shield from sagging some high temperature silicone adhesive (600degF stuff) was also used. |
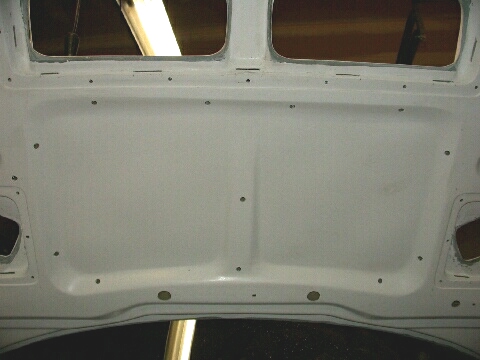
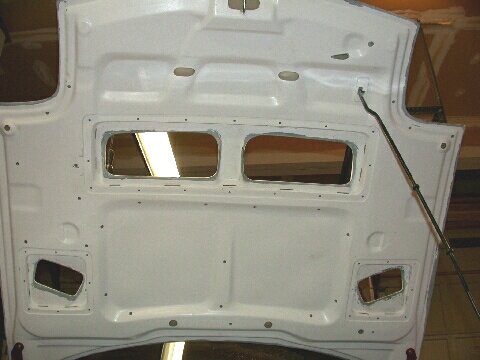
Holes drilled for the heat shield clips and indicating the area subject to the highest temperatures. |
|---|
A rain guard for one of the rear vent openings. Protective blue film still on the plastic. |
While at the track with the unpainted hood I got caught in a torrential downpour at the end of the day. Needless to say I was very concerned and feverishly attempted to cover the front of the car with plastic in the gale force wind. Boy did I look stupid! In any case because the vents are so large much of the under hood components are exposed to the elements to include several electrical items. Given that Knightsports makes their own rain guards for use with the original hood to protect things against the elements I decided to make some for mine as well. The issue in this case was not how to fit the rain guards, indents for their placement and mounting holes were already apparent, it was a question of what material to use. Some kind of plastic was in order. A plastic that was flexible (the hood is curved), somewhat resistant to heat, and could be painted. So off to a hole-in-the-wall plastics supplier I had discovered many years ago to see what I could find. Sure enough the salesman had something I could use, flexible, paintable, and as heat resistant as anything he could recommend....and it was clear. Clear? Wouldn't it be cool to have the guards in and yet still maintain the vented look? Well maybe. I figure I'd leave them clear for now and paint them if they discolored with the heat or got marked up. So I used the indents in the underside of the hood to make some cardboard templates and cut the rain guards. Drilled the holes in the hood and covers where the original holes were, little indents from the fiberglass mold, and used easily removable plastic pushbutton type clips. |
|---|
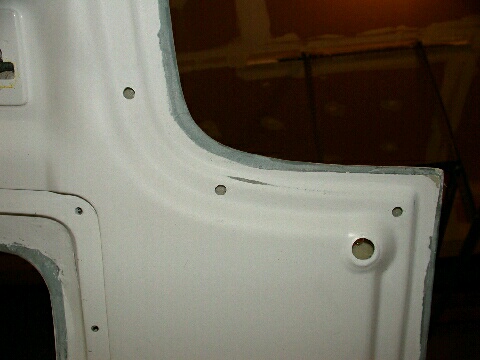
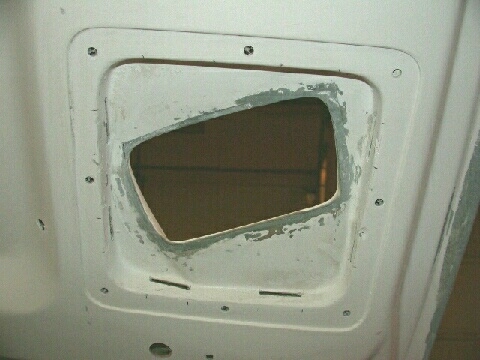
Headlight splash guard mounting holes and lower hole for the hood pin.. |
Three months and 104 holes later. |
|---|
| With everything else taken care of the only thing left was to work on clearancing the hood to intercooler. This took much more time than anticipated. Fearful not to cut too much material it took several interations (driving the car for several days to see if chassis flex and vibration would cause any impact or rubbing) before the hood would close without contacting the intercooler. I used modeling clay to determine where contact was being made and with what component, be it the top of the AC dryer, or the hood prop, or the intercooler, or the intercooler duct. With all the clearancing issues taken care of (and the hood pins removed) the car was sent off too Dan at Mr. Spoiler for painting. Don't laugh at the name this guy does phenomenal work albeit for a price. |
The final cuts in the hood ribbing needed to clear the CWR intercooler and to minimize rubbing. |
|---|
Initial Fitment and Review: Part 2
The
Finished Product: Part 4 [WARNING: Graphics Intensive]
7-UP CLUB
MAIN
OUR "LOCAL7"
COMMUNITY | THE
WORLD OF THE RX-7
This page last updated November 25, 2002