
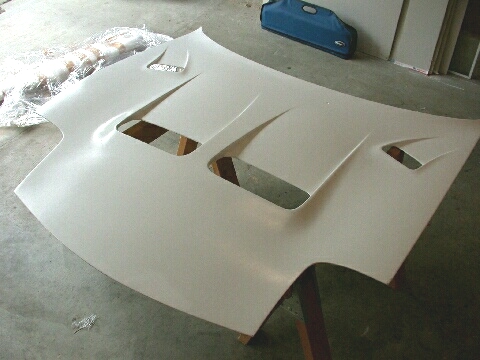
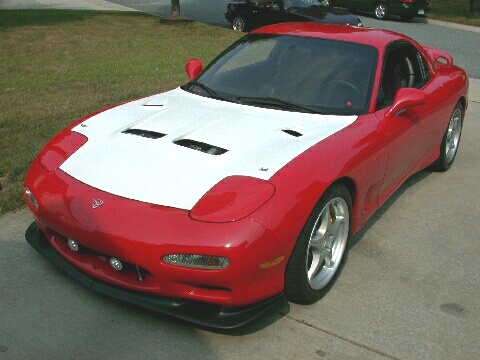
The new hood to be installed.
And so it arrived.... wrapped fairly well with plenty
of padding. When delivered I was informed of a damage to one corner. Ok
it was agreed we would knock $50 off the price. I took the wrapped hood
home and there it sat in my garage for 3 months while I tended to other
car matters and could find the courage to begin the installation process.
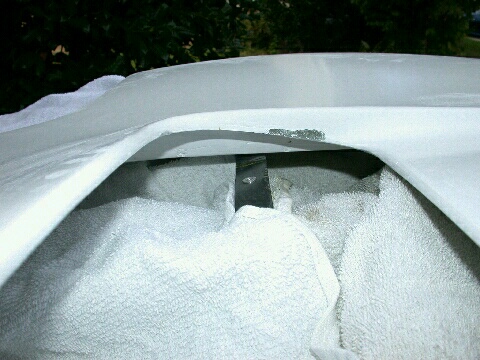
The disclosed damaged corner. |

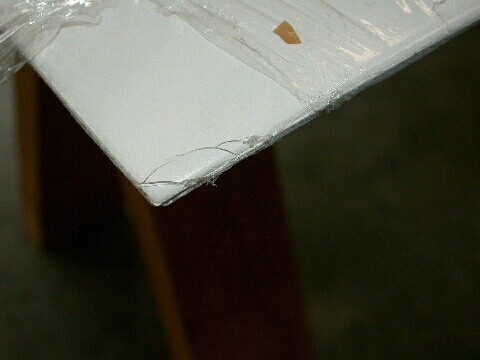
The second UNDISCLOSED broken corner. |
|---|---|
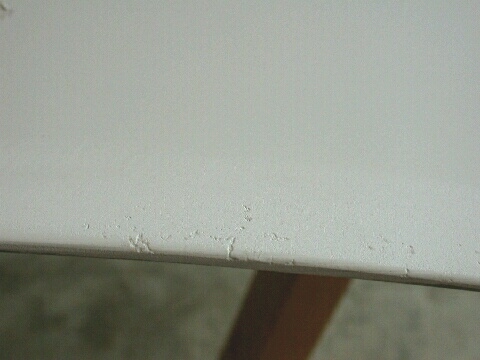
Porosity in the gel coat. |
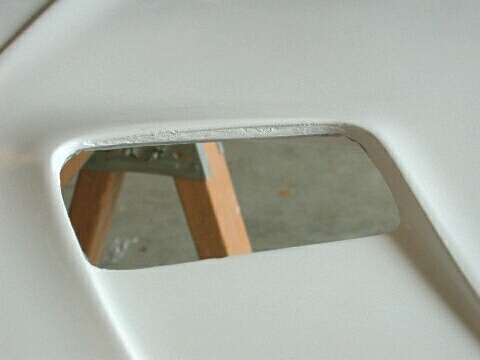
Rough material along the edges and flashing material around the vent opening. This was common to all the openings. |
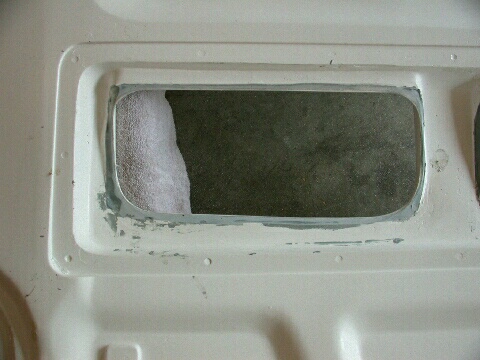
Unfinished vent opening illustrating how the two hood halves are bonded together. Note also the indents where the rain guard mounting hardware holes are to be drilled. |
Another vent opening. The seams were pretty raw and needed quite a bit of finish work. |
The first thing to do, obviously, is to remove the stock hood. It is amazing light [made from aluminum] and probably the reason it dents so easily. With the stock hood off the new hood is bolted on. Pettit's hood comes with an OE style latch and hardware for mounting to the hood hinges. With the hood bolted on I held my breath and tried to close the hood. HA! Not a chance.
First things first - off with the stock hood! |
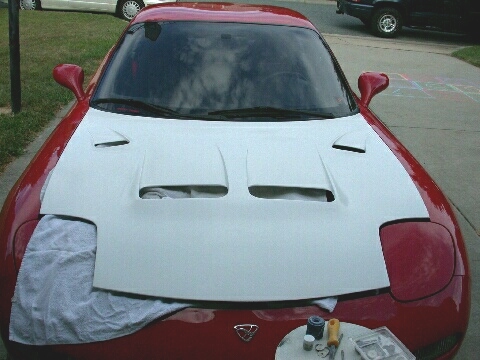
As closed as it was going to get without some "adjustment" of other under hood components. |
|---|
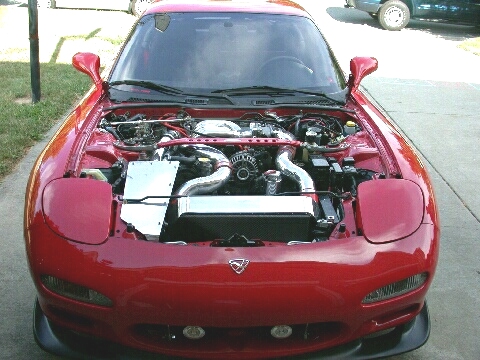
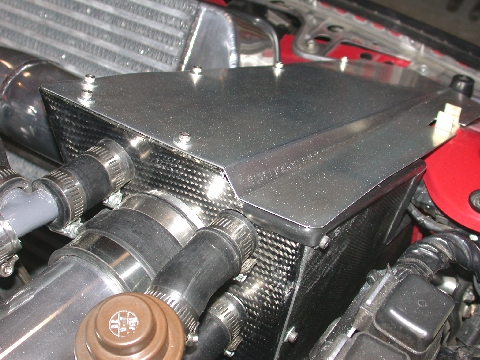
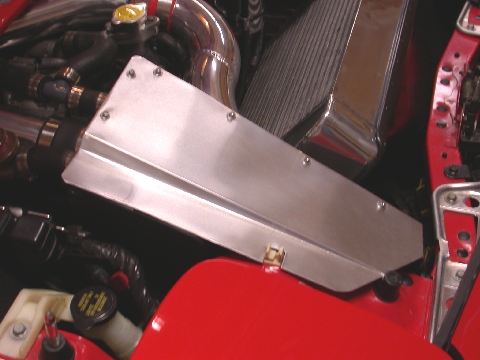
| It seems all the after market stuff I had under the hood was creating quite a few clearance issues. To be specific I had to lower the oil catch can but 1/8 inch [no biggie just elongate the mounting holes in the bracket I made], drop the battery fuse/relay box 1/8 inch, and the biggie was figuring out how to get the hood to clear the CWR intercooler and intake box. I had a choice, hack the hood or hack the offending component. With the airbox the choice was to cut the box. I had made my own intake box cover anyway so the box was notched and a new cover fabricated to clear the hood. As for the intercooler this was another story. The intercooler was situated as low in the engine bay as it would go so I had no choice but to notch the hood. With great trepidation I began sanding/cutting away the underside of the hood ribbing that was hitting the top of the intercooler. I removed just enough material so I could now get the hood to close. YEAH! It still rubbed but the hood would close. Good enough for the track but it would require more work. |
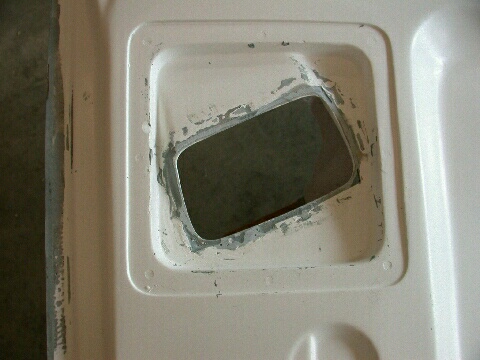
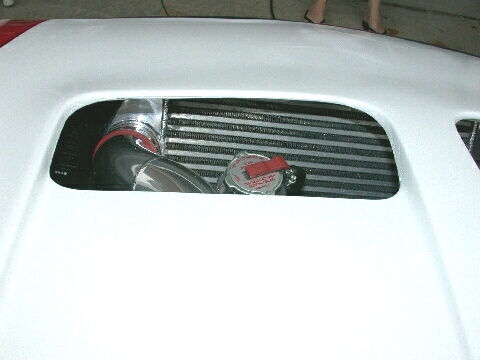
Interference issues with the CWR intake box. Note also the delamination of the gelcoat around the vent opening. |
|---|
Just to be sure the hood wasn't going to pop open I also installed hood pins. I wanted hood pins but not those huge pins requiring big loops and cables. Something that would work but wouldn't be so obvious. Moroso had such a pin. The outer rubber hood supports provide the perfect location. With these removed the pins were bolted in their place and I removed the clip in the bottom of the stock rubber bump stop drilled a hole through the middle of it and slid it over the pin. The hood holes were drilled and the clips riveted in place. But be sure the "measure twice and cut once." The last thing you want to do is drill a hole in the wrong place!

Low profile aluminum hood pins from Moroso. |
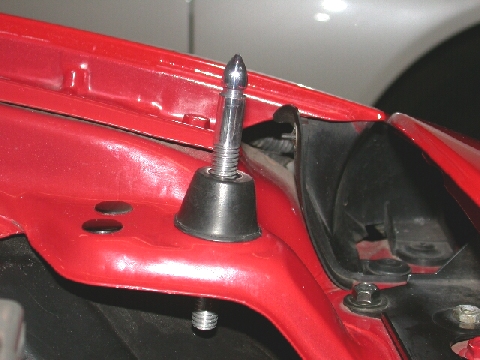
Hood pin and rubber bumper location in the engine bay. |
|---|
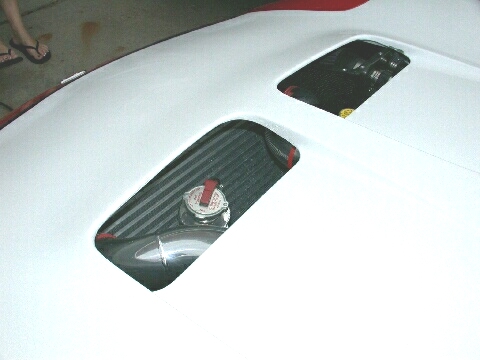
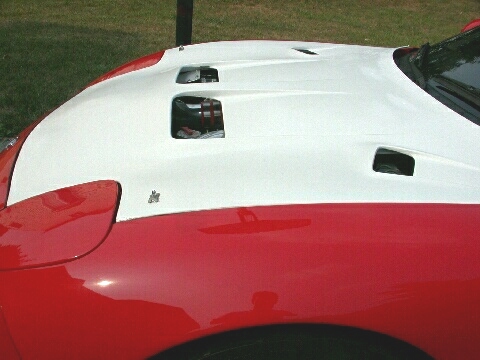
Huge vent openings. Mesh definitely needed to avoid errant hands from fiddling with my AST cap! |
Note the good flow path straight through the intercooler. |
|---|
 |
 |
|---|
Choosing an After market Vented Hood: Part 1
Making the Ancillaries and Prepping for Painting: Part 3
The
Finished Product: Part 4 [WARNING: Graphics Intensive]
7-UP CLUB
MAIN
OUR "LOCAL7"
COMMUNITY | THE
WORLD OF THE RX-7
This page last updated November 25, 2002